allTags can be used for personal file management by using allTags Client. Or for central file management in organizations by connecting clients to allTags Server.
For detailed documentation for both allTags Server and Client, please read on below.
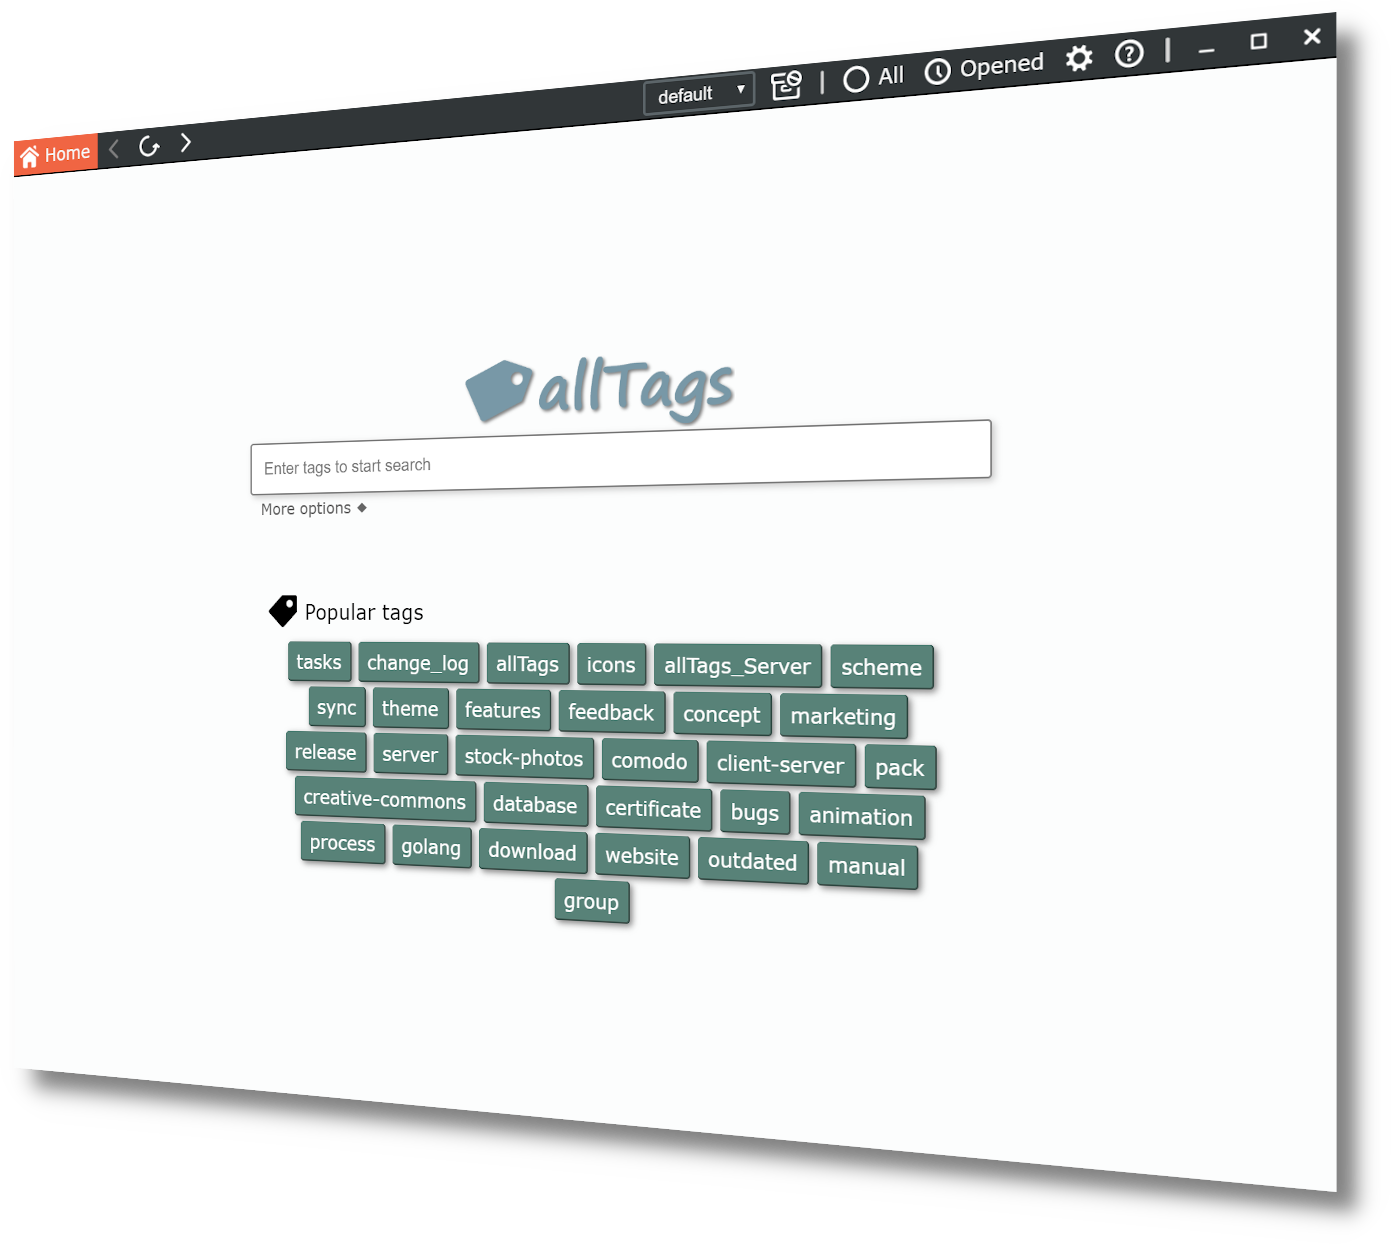
allTags Client
allTags Server
allTags Server provides central access to shared files and management of connected clients. Via defined shares and permissions, clients can retrieve and update content as well as download files for offline use.
Multiple clients are assigned to a single person to enable multi-device access to content, while permissions are set for personal or group access. Conflict resolution functions are included in case of parallel or asynchronous offline commits from multiple clients.
allTags Server is administrated via a connected allTags Client with administrative permissions. To setup allTags Server, basic system administration skills are required. The following steps include installation of the server component, setup of a database and changing of a server configuration file.
alltags_server executable.On both Windows and Linux, these steps must be completed to configure allTags Server.
utf8_unicode_ci.GRANT to the newly created database.Open the allTags Server configuration file config.json, located in the chosen installation directory.
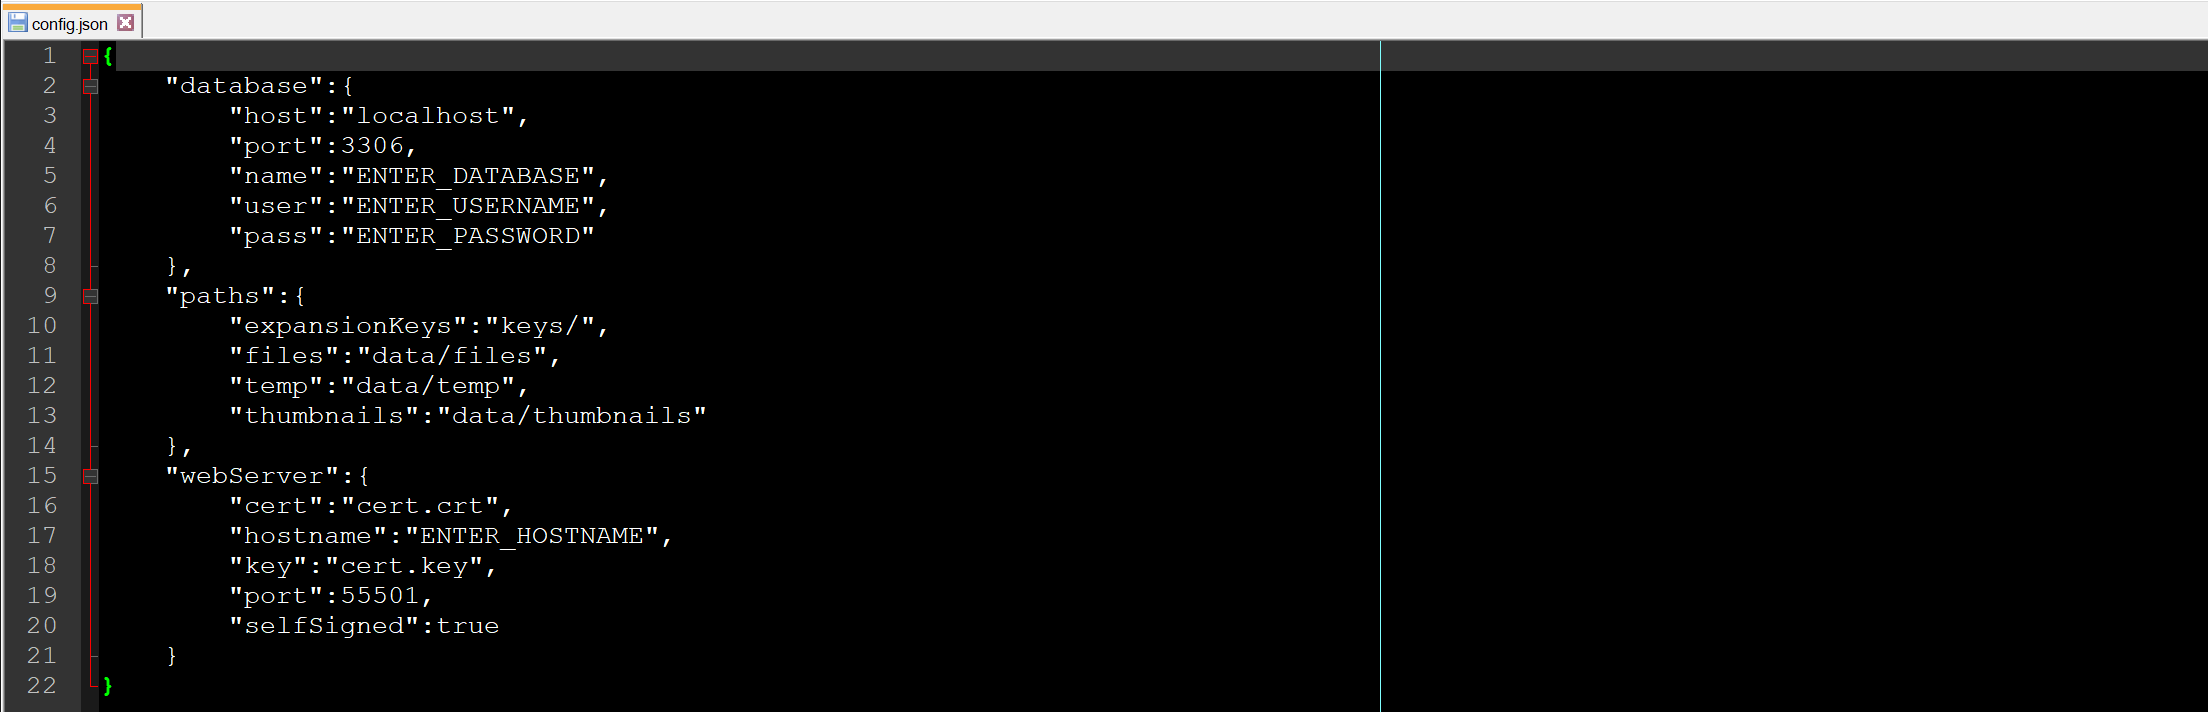
database. Host refers to the server hostname of the database server running the new allTags database. Name refers to the database name itself, user and pass are the user credentials you have chosen for the database user.webServer->hostname. This should be the fully qualified domain name (FQDN). It is relevant for the server certificate, which is used for encrypted communication with clients.webServer->port.webserver->selfSigned to false.
paths. You can choose any accessible path, including network shares.
files directory grows with the amount of files that clients share.temp directory is used for temporary file operations and is emptied regularly by allTags Server.thumbnails directory grows with shared files but much less so than files. Thumbnails are not regularly retrieved but instead synchronized to clients for local access.keys directory contains any expansion keys that you want to add to allTags Server.Start the allTags Server command line interface (CLI) by executing alltags_server.exe (Windows) or alltags_server (Linux). Execute the following steps inside the CLI.
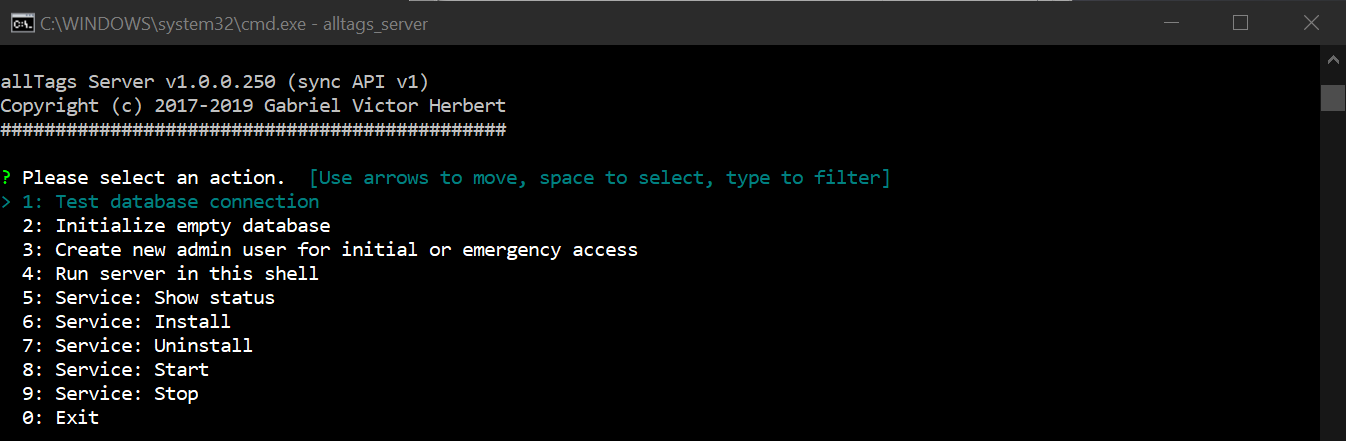
Test database connection. This will confirm whether the database connection works and the database itself is ready for initial setup.
Initialize empty database to populate the new allTags Server database.Create new admin user... and enter details of the first user to connect to this server. After entering all details, make sure to copy the generated connection string as you will need it soon.Once the server has been configured, it should be registered as a proper service. Open the CLI with administrative rights and select Service: Install - this will register allTags Server as a service with your operating system.
Run server in this shell. It will then run as long as the CLI is running.To continue, start the allTags Server service either from the allTags Server CLI or from your operating system´s service manager as such:
services.msc, locate and start alltags_serverStart-Service -name alltags_serversystemctl start alltags_serverservice alltags_server startTo administrate your allTags Server, you need an allTags Client with administrative permissions. Startup an allTags client, go to settings->servers and select Add server. Here you are prompted for the connection string, which you have created during the server configuration process (s. above).
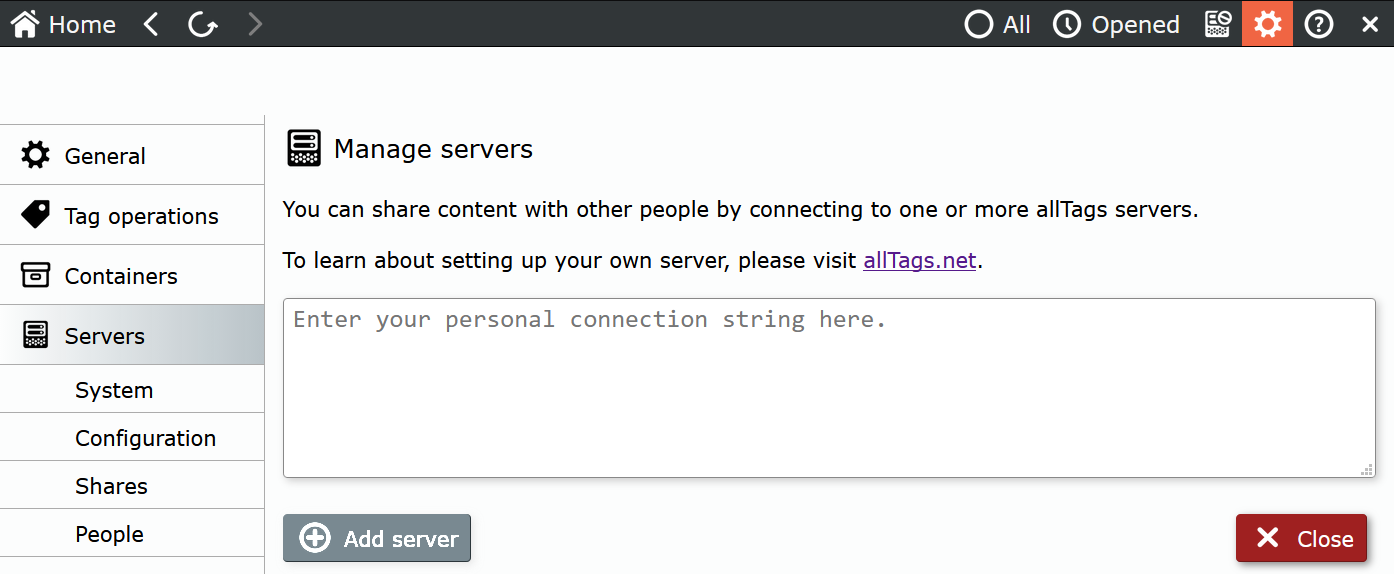
As soon as the connection has been established, you can access administrative functions via settings->servers. You might want to setup at least one additional administrative user in case the first one is not available. Should you loose all administrative access, you can create a new administrative user via the allTags Server CLI.
allTags differentiates between people and clients. A person is a natural individual that has access to the system. A client is an installation of allTags Client, which is accessing the server. By having multiple clients, a person can use multiple allTags installations, like when using different devices. Access permissions as well as changes, made within the system, are attributed to a person, not his or her client(s). It is always possible to add new clients and revoke access to existing ones by deleting them.
To allow a new person access to the system, you need to create a personal record with basic details (forename, surname, etc.) as well as at least one client. For any kind of access, permissions must be granted to this person.
There is no fixed limit on how many people (or clients) can be added to the system. Only the amount of concurrently accessing people is limited to 3. To expand this number, you can add expansion keys.
Clients are created from within the details window of a person´s record. When creating a client, you are prompted for a descriptive name so that you can differentiate between them (like 'Workstation office' or 'Travel notebook'). A so-called 'connection string' is generated, which is used on the client to find, verify and register with your allTags Server. Inside the allTags Client, the connection string is entered under settings->server. It can only be used once and within the specified activation period. If the connection string gets lost or the activatation period expires, delete the specific client and create a new one.
Removing a client will block access from the corresponding allTags Client installation. Usually, clients are deleted if a connected device has been lost. If all access should be cut off from a person, the person record can be disabled; this will disable all clients as well. Personal records cannot be deleted as they are needed for a full change event history.
Shares are used to grant and restrict access to files in allTags. Files can be assigned to one or multiple shares, allowing different groups of people access to specific content.
It is good practice to create shares following existing structures, like teams, projects or organizational units. As files can be assigned to multiple shares, with different permissions, access can be provided without using transfer directories.
Shares can be added, changed and deleted any time. When a share is deleted, all files, only assigned to this share, are also permanently deleted.
Access follows a straightforward permission model. A person or group is granted read, write or set permissions to a particular share. Each higher permission contains all lower ones:
write includes readset includes read and writeTo get any access to content inside a share, read access is required. With read access, a person can download, display and make copies of files from inside the system. write access enables changing and deleting files. set permissions allow adding/removing files from and to shares.
If a file exists in multiple shares, the higher access right of a person wins. Example: Some template files are shared via a globally accessible share named Public to all employees of an organization. Everybody has read access to Public. Employees of Human Resources however have set rights and can add to and edit files inside Public to make them globally available.
As seen in the example, permissions work cumulatively. The more shares permissions are assigned, and the more group memberships are granted, the more access a person has.
A person can be assigned to multiple groups. There is no fixed limit on the number of groups you can create. Permissions assigned to a group are inherit by all people assigned to it.
Groups can currently not be nested (e. g. be assigned to other groups); this keeps permissions easily understandable but is more effort for larger organizations. This might be changed in the future.
When synchronizing content between multiple clients, each of which can be on/offline at different times, there is potential for conflict. Especially, if they work with files that multiple people make regular changes to.
allTags Server recognizes when a client attempts to update a file, which is not based on the latest available version. It then blocks the update and informs the client about the conflict. The user is then asked to resolve the conflict. For this, both versions, the local and the latest server version, are available for comparisson.
To resolve a conflict, the end user must choose whether to overwrite the active server version. Or to void its changes and keep the latest server version undisturbed. In some cases, a user would want to apply some changes to one version or the other. In this case, the user can view (e. g. open a copy in read only mode) the version that is about to be lost, resolve the conflict and then apply the changes to the kept file version.
There are two kinds of logging for allTags Server.
Windows Logs->Applicationsyslog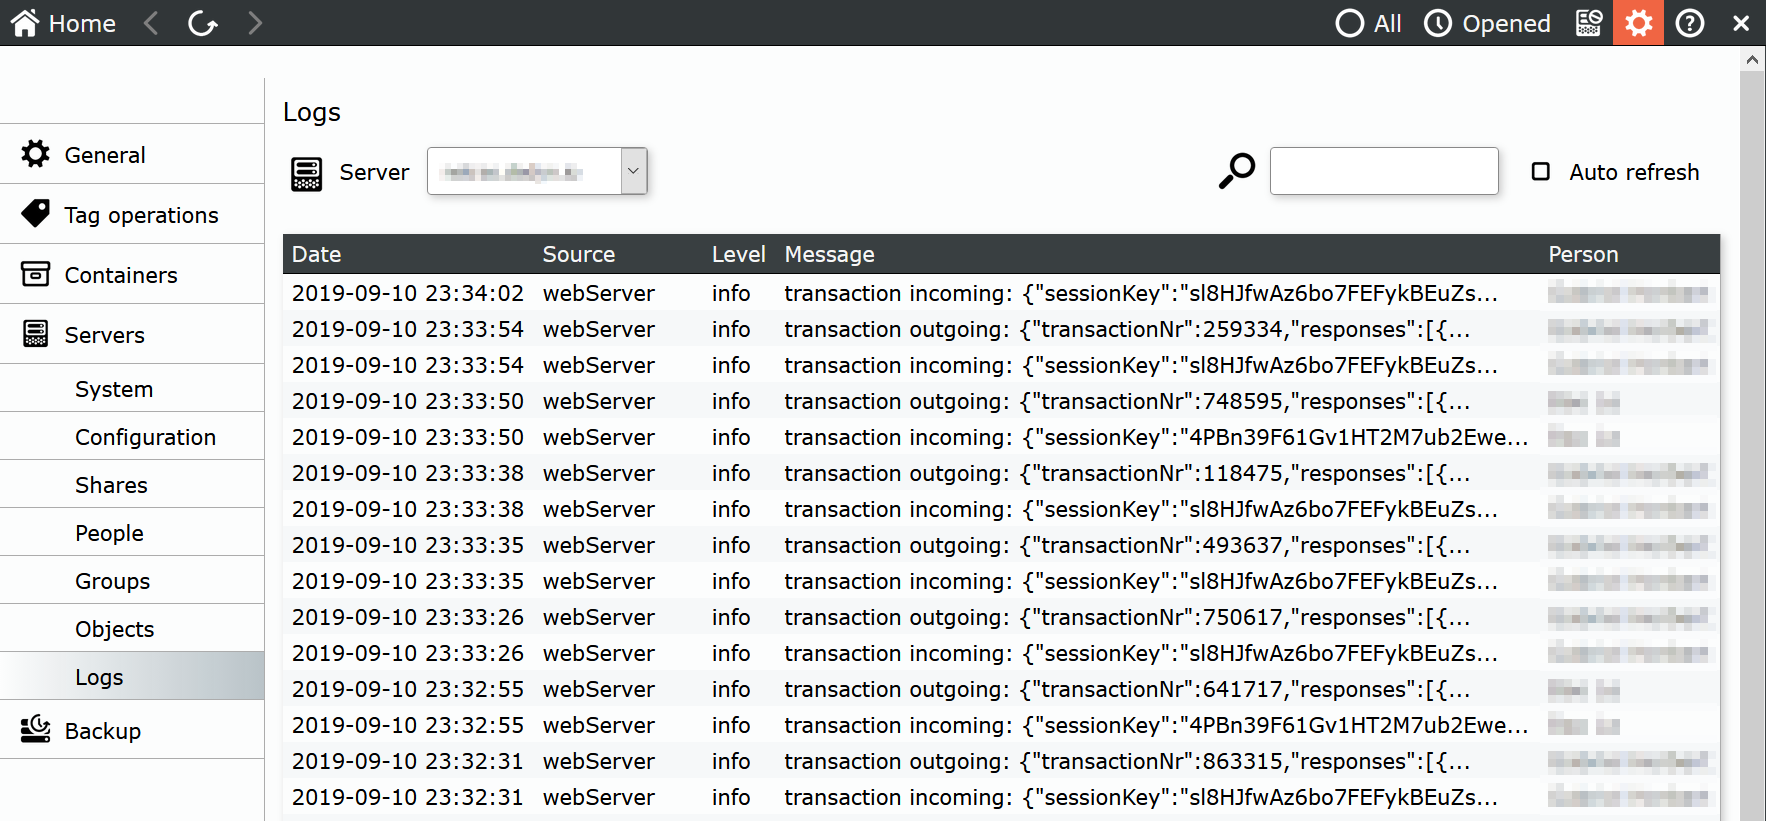
You need to have regular backups configured for:
Mariabackup, which can be installed as part of MariaDB.paths.
*.crt and *.key). If lost, all clients must be reconnected to the server.You might want to also backup the general application configuration file and expansion keys. These are not critical but will help getting allTags Server back online quicker.
Weekly full and daily incremental backups for files and the database. At least 2 full backups should be kept at any time in case of data loss/corruption. Incremental backups must be kept until the last successful, full backup.
These recommendations are good practice. Depending on the size of your allTags Server instance and your infrastructure, different backup strategies should be employed.
To recover, restore files and the database to the latest available version. Make sure that paths, defined in the server configuration file, are correct. If the application service does not start, you can check your operating system´s log for error messages. Depending on your configuration, you might need to re-apply database access permissions for the database user, which is defined in your allTags Server configuration file.
To update allTags Server follow these steps in order:
alltags_server service with your operating system´s service manager.alltags_server service.Expansion keys serve to expand the scope and/or the functionality of allTags Server. Currently, they are used to increase the concurrent user limit.
To add expansion keys, place them in the expansionKeys working directory, as defined in the server configuration file under paths. A restart of the application service alltags_server is required for expansion keys to be applied.